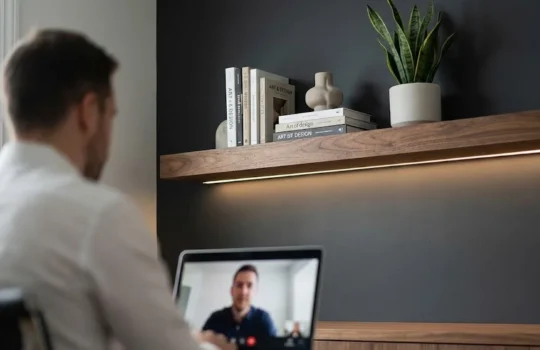
In the world of interior design, few things offer the same blend of rugged charm and modern sophistication as thick floating wood shelves. Often referred to as “chunky” shelves, these substantial pieces of timber do more than just hold your books; they act as architectural anchors for a room. Whether you are aiming for a Modern Farmhouse vibe, an Industrial loft look, or a warm Minimalist sanctuary, the thickness of the wood, usually ranging from two to four inches, adds a layer of luxury that thin, mass-produced shelves simply cannot match.
However, with great style comes a common decorating dilemma: the clutter trap. Because these shelves are so visually heavy and beautiful on their own, over-stuffing them with too many knick-knacks can quickly turn a high-end design into a messy eyesore. The secret to a magazine-worthy home isn’t having more things; it’s knowing how to curate what you have.
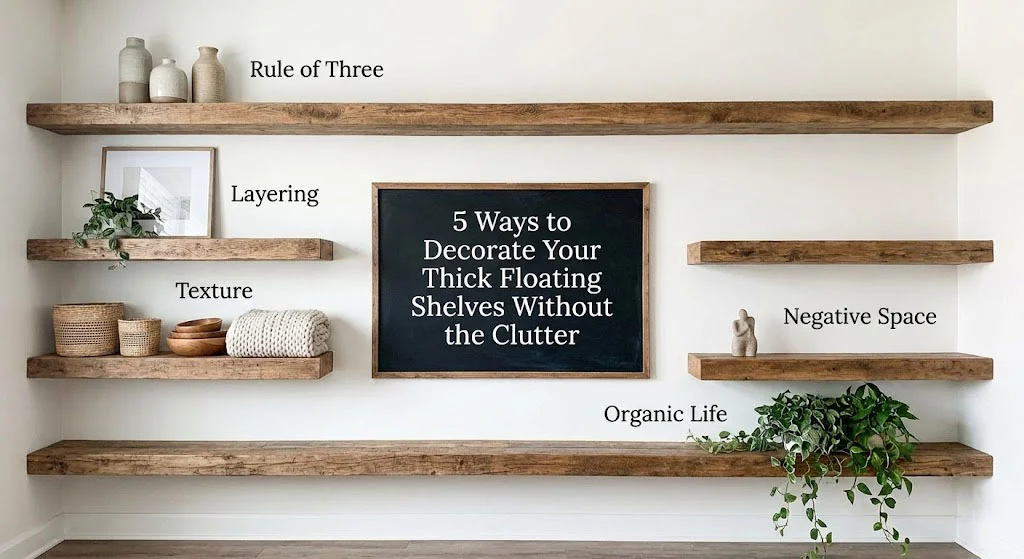
If you want to master the art of the “shelfie” while keeping your home feeling airy and intentional, here are five designer-approved ways to decorate your thick floating shelves without the clutter.
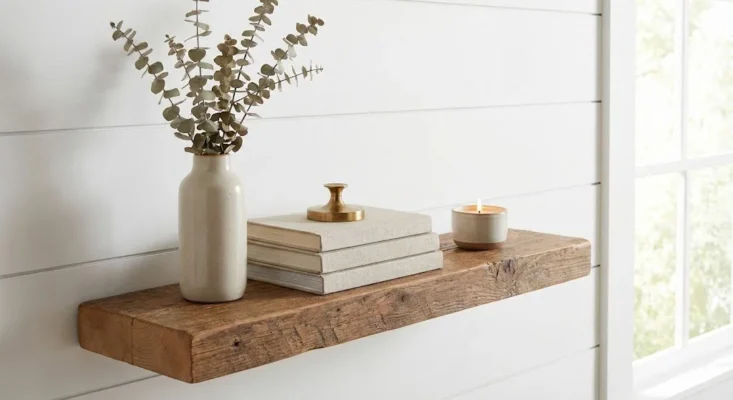
Master the “Rule of Three” and Varying Heights
One of the oldest tricks in a designer’s handbook is the Rule of Three. This principle suggests that items arranged in odd numbers—specifically three—are more visually appealing, memorable, and effective than even-numbered groupings. For thick floating shelves, this rule is your best defense against clutter.
When you group items in twos or fours, the brain tends to see them as pairs or a grid, which can feel rigid and “stiff.” Odd numbers create a sense of natural imbalance that forces the eye to move around the arrangement.
How to implement it: Don’t just place three items in a straight line. Instead, vary their heights to create a “zigzag” or a “triangle” effect. For example:
-
Item 1 (The Tall Piece): A sleek candlestick or a tall, narrow vase.
-
Item 2 (The Medium Piece): A stack of two or three books placed horizontally.
-
Item 3 (The Short Piece): A small decorative bowl or a scented candle.
By staggering the heights, you create a sense of movement. This keeps the shelf looking dynamic and curated rather than like a retail display where everything is at the same eye level.
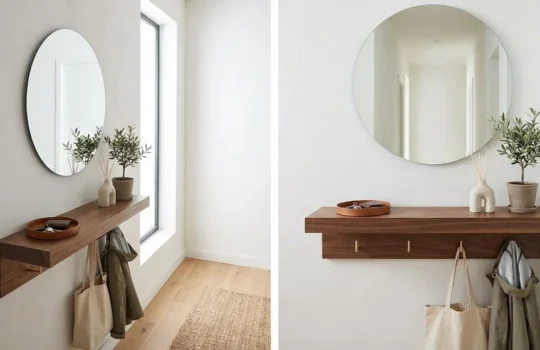
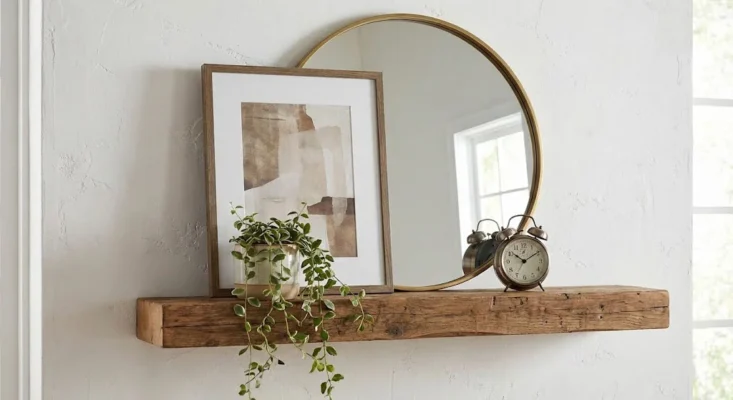
Create Depth with Layering
A common mistake beginners make is placing every item in a single row along the front edge of the shelf. This makes the shelf look two-dimensional and flat. To truly highlight the substantial depth of a thick wood shelf, you need to use the space from front to back.
Layering is the process of overlapping items to create a sense of “depth of field.” It makes the shelf feel like it was built into the room’s history rather than just slapped onto the wall.
How to implement it: Start with a “backdrop.” Lean a large framed art print, a round mirror, or even a beautiful wooden cutting board against the wall. This serves as your foundation. Then, place a smaller object like a clock or a small plant, slightly in front of the backdrop, overlapping the corner.
This technique does two things: it hides the transition between the shelf and the wall, and it makes the chunky wood shelf look even deeper and more impressive. Remember, you don’t need to layer every single inch; one or two “layered moments” on a long shelf are enough to add professional flair.
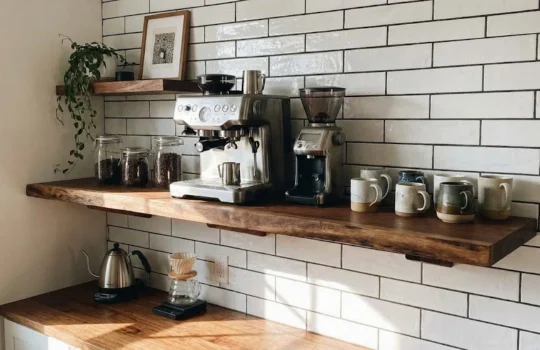
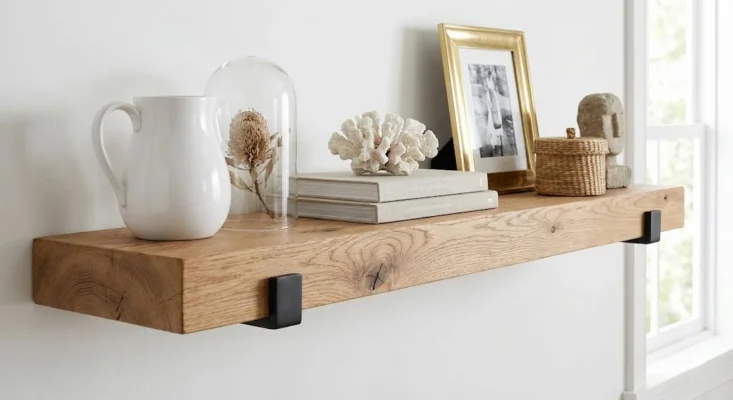
Prioritize Texture Over Color
One of the fastest ways to make a shelf look cluttered is by using too many competing colors. When every object is a different bright hue, the eye doesn’t know where to rest, and the result is visual “noise.”
When working with solid wood shelves, the star of the show is the natural grain, the knots, and the warm tones of the timber. To let that beauty shine, choose a neutral color palette and focus on texture instead. Mixing different materials provides visual interest without the chaotic feel of a rainbow.
How to implement it: Stick to a palette of whites, creams, blacks, and metallic tones. Then, mix the “feels” of the items:
-
Smooth: A white ceramic pitcher or a glass cloche.
-
Rough: A piece of coral or a stone sculpture.
-
Shiny: Brass or matte black metal accents (like shelf brackets or picture frames).
-
Soft: A small woven basket or a linen-bound book.
This monochromatic approach feels incredibly high-end and calm. It allows the thick, organic texture of the wood to be the “anchor” of the design.
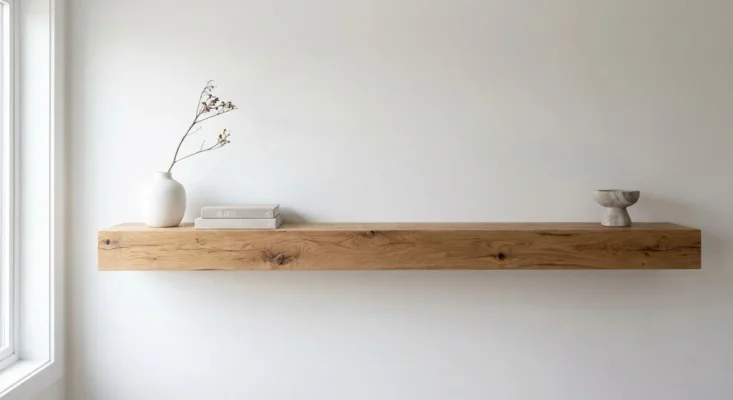
Embrace “Negative Space” (The Golden Rule)
In interior design, what you don’t put on a shelf is just as important as what you do. This is called Negative Space, or “white space.” For thick floating shelves, negative space is your greatest luxury.
Because chunky shelves have such a strong physical presence, they need room to “breathe.” If you fill every square inch of the wood, you lose the very reason you bought the shelf in the first place: the wood itself. Negative space prevents the shelf from looking like a storage rack and elevates it to a piece of art.
How to implement it: Try the 30/70 Rule. Aim to leave at least 30% of your shelf surface completely empty. This doesn’t mean leaving one big gap; it means spacing out your groupings. Let a few inches of that beautiful Oak or Walnut grain show between your vase and your book stack.
When you leave empty space, you are telling the viewer: “The items I chose to put here are important.” It creates an atmosphere of intentionality and peace.
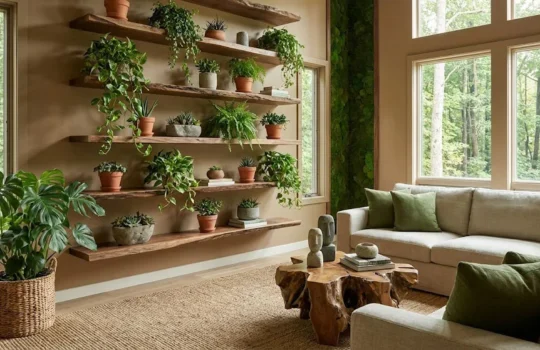
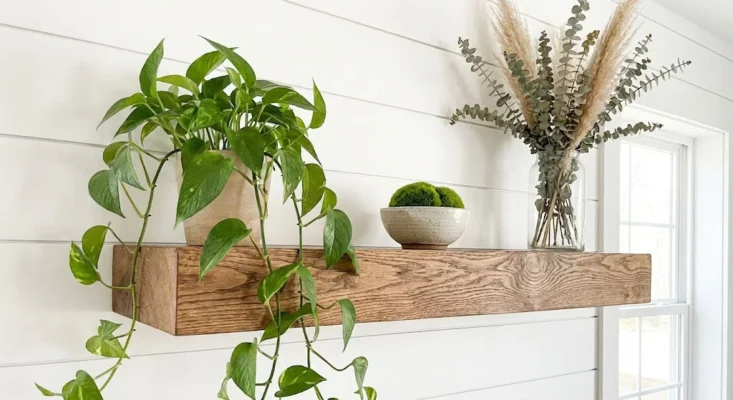
Bring in “Organic Life”
Every shelf styling project needs a touch of the outdoors to soften the hard lines of the wood and the wall. Without something “living” (or high-quality faux), a shelf can look a bit sterile or static. Organic elements add a sense of freshness and a “lived-in” feeling that is essential for a cozy home.
How to implement it:
-
The “Spill” Effect: Place a trailing plant, like a Pothos or String of Pearls, on the highest shelf. Let the vines dangle over the side. This breaks up the long horizontal line of the thick shelf and adds a beautiful, soft contrast to the heavy wood.
-
The “Pop” of Green: A small succulent or a moss ball in a bowl adds a concentrated burst of color that works perfectly with wood tones.
-
Dried Elements: If you don’t have a green thumb, use dried eucalyptus, pampas grass, or even a few interesting branches found on a walk. These add height and a wild, natural silhouette that complements the rustic nature of thick wooden planks.
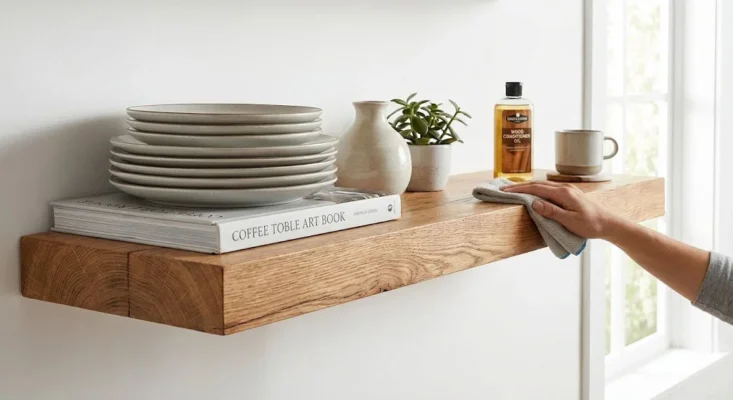
Maintenance and Safety for Thick Shelves
Because these shelves are heavy-duty, they are often used to hold heavier items like stacks of ceramic plates or large art books. To keep your shelves looking their best:
-
Weight Distribution: Place your heaviest items (like large vases or heavy book sets) closer to where the internal brackets are mounted to the wall studs. This ensures maximum stability.
-
Wood Care: Thick wood is a living material. Avoid placing damp items directly on the wood to prevent water rings. A simple wipe with a microfiber cloth and an occasional treatment with wood oil will keep the grain looking deep and vibrant for decades.
Conclusion
Decorating your thick floating wood shelves shouldn’t be a stressful chore. It is an opportunity to tell the story of your home. By leaning into the Rule of Three, playing with layering, focusing on texture, respecting negative space, and adding a touch of greenery, you can transform a simple piece of timber into a stunning focal point.
Remember, the most beautiful shelves are the ones that feel balanced, not burdened. Start with less, be intentional with every piece you add, and let the natural beauty of the wood do the heavy lifting.